Woodturning is a fantastic hobby and one that can be very rewarding. However, it can also be quite expensive to get started. If you’re looking to save some money or just don’t have the space for a lathe, there are still ways that you can turn wood without one. Here are a few tips on how to turn wood without a lathe.
Use a Drill
Use a Drill
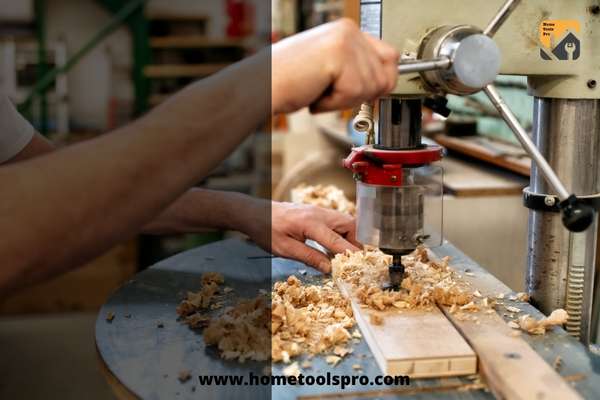
If you have access to a drill, you can use it to turn your wood. Simply attach the piece of wood to the drill bit and start drilling. Be sure to go slowly at first and increase the speed as you get more comfortable. You’ll also want to make sure that you’re using a sharp drill bit to avoid damaging the wood.
Use a Table Saw
Another option is to use a table saw. Just like with the drill, you’ll want to attach the piece of wood to the blade and start sawing. Again, go slowly at first and increase the speed as you get more comfortable. You’ll also want to be careful not to damage the wood with the saw blade.
Use a Jigsaw
If you have access to a jigsaw, you can use it to turn your wood. Like with the drill and table saw, you’ll want to attach the piece of wood to the blade and start cutting. Again, go slowly at first and increase the speed as you get more comfortable. You’ll also want to be careful not to damage the wood with the saw blade.
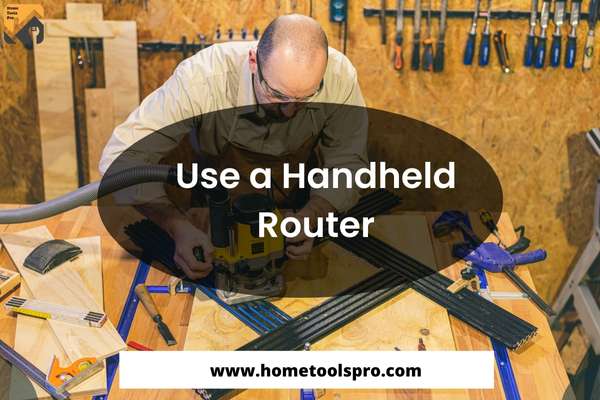
Use a Handheld Router
Use a Handheld Router
Another option is to use a handheld router. Like with the other methods, you’ll want to attach the piece of wood to the router bit and start cutting. Be sure to go slowly at first and increase the speed as you get more comfortable. You’ll also want to make sure that you’re using a sharp router bit to avoid any damage to the wood.
Use a Bandsaw
If you have access to a bandsaw, you can use it to turn your wood. Just like with the other methods, you’ll want to attach the piece of wood to the blade and start cutting. Be sure to go slowly at first and increase the speed as you get more comfortable. You’ll also want to be careful not to damage the wood with the saw blade.
We will look at a step by step guide on how to turn wood without a lathe using a Tenon saw.
Step 1: Find the necessary tools.
Find the necessary tools
For this project, you will need the following tools:
A Tenon saw
Safety goggles
A worktable
A piece of wood (we recommend using a hardwood like oak or maple)
Chisels
Coarse sandpaper
Sanding block
A vice
Drill and bits
Block of wood for holding chisels
Dowel or bar as a spindle
Screws
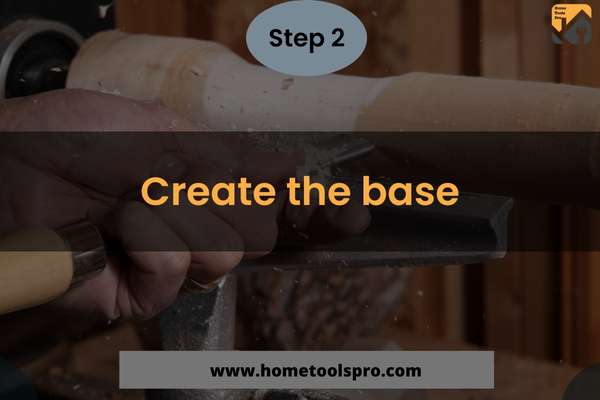
Step 2: Create the base
Create the base
You will need to create a base for your project. To begin, choose a piece of wood to use as the base of your creation. This needs to be wide enough and long enough to accommodate the circle you are forming in addition to the chisel in its retaining block of wood. Additionally, it needs to be thick enough to secure the spindle. We recommend a piece of hardwood like oak or maple for this project.
After you have chosen the wood for your base, use the drill and bits to create a hole in the centre of the wood. The size of the hole should be determined by the dowel or bar you are using as the spindle. Once the hole has been drilled, use the saw to cut the base to its desired shape.
Step 3: Create and instal the circle
Create and instal the circle
Make some marks on the piece of work. You should use a saw, chisel, and sandpaper with a coarse grain to rough it up. You should try to get it as close as you can to the target circle. Instead of trying to cut a series of tangents to the circle, it is better to make a lot of parallel cuts across the grain that are almost all the way to the line. Instead of trying to cut the side paths, this should be done.
Drill a hole in the middle of the workpiece and a hole that matches it in the base. This will allow a spindle to fit into the hole. After the spindle has gone through the workpiece, it should be put into the base. Check to see if the part is flush with the base and can be turned easily. There shouldn’t be any side-to-side play because if there is, the end result will be an oval instead of a disc.
Step 4: Set the chisel up
Set the chisel up
Place a chisel so that its long edge is flat on the base and the blade is touching the workpiece at an angle that is good for cutting. Place the chisel so that the flat side of its long edge is against the base. Take a large piece of wood and place it on top of the chisel so that the tool is covered by as much wood as possible. Put a mark at each place where the chisel goes through the edges. When you’re trying to hold the chisel steady, you should be careful not to cut yourself on it.
You’ll need to cut a hole in the piece of wood so the chisel can be held in the spot you chose. When you cut, you shouldn’t go any further than the width of the blade. Drill two holes for screws into the piece of wood.
Put the chisel in the slot, and then tighten the screw to keep the block in the cutting position. Use just one screw at a time until the finished product is in the right place. To make a clamp for the chisel, you’ll need to drill a hole, file the point off of another screw, and then screw it right above the chisel.
The angle at which the cut is made should be carefully considered because working with a round part can be confusing. You should make a few practice cuts on a piece of scrap wood before you start working on the real thing.
Step 5: Finish it off
Finish it off
Turn the workaround so you can find the highest point. If you have to, turn the piece over so that you can cut with the grain. Loosen the screw holding the chisel in place, and then use a mallet to drive the chisel into the piece so that it will cut a thin shaving when the piece is turned. Once the screw is tight, turn the piece of work so that it can cut.
Repeat, repeat, and repeat again, turning the piece over as many times as needed to make sure you are cutting with the grain. Extra care needs to be taken when cutting the end grain. If it gets too hard to move forwards, try trimming across the piece with another chisel or sandpaper until you can move forwards again.
Use a rasp or file to take off any rough edges. If there are still some imperfections, you can use sandpaper to even things out. Just make sure that you don’t sand too much because you don’t want to change the shape of the object.
There you have it! You’ve now got a beautifully turned wood piece, all without needing a lathe!